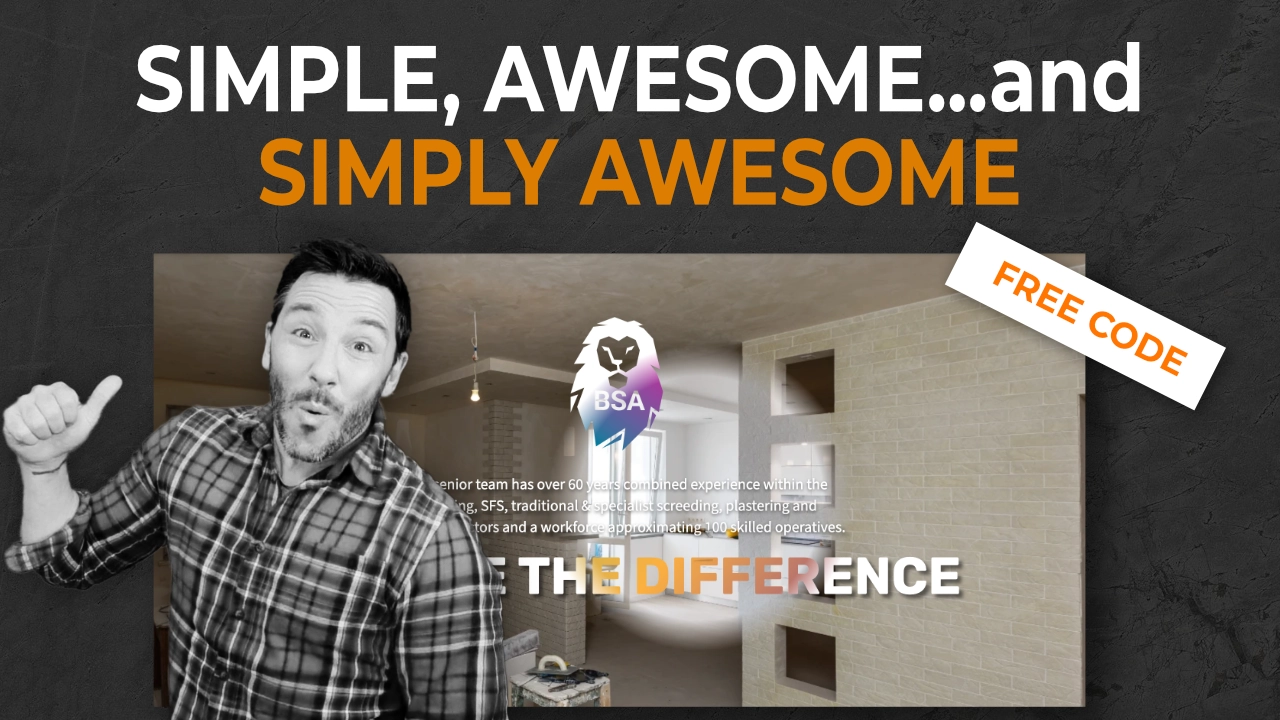
If you’d like to create a really awesome overlay reveal on hover effect using Breakdance, you’ll love this effect.
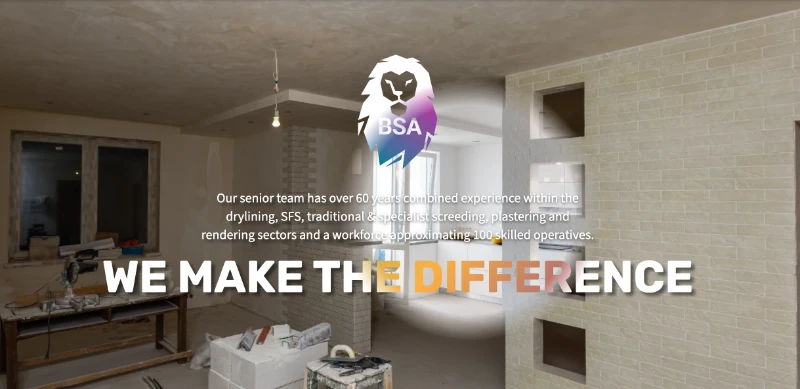
Well, okay, that’s kind of in the title. But, essentially, as you move the mouse over the section, you’ll notice the overlay disappears to reveal another image and content beneath. In truth, it’s actually on top of the layer that’s visible, but it’s a great effect.
Section
Set Layout as you need, but I set mine to be centre aligned for vertical and horizontal settings
Background Image – Is the before image.
Width – Full Width
Height – 600px
Spacing – May need to adjust the paddings (usually the vertical padding when aligning content).
Class – Add a class of ‘reveal-container’.
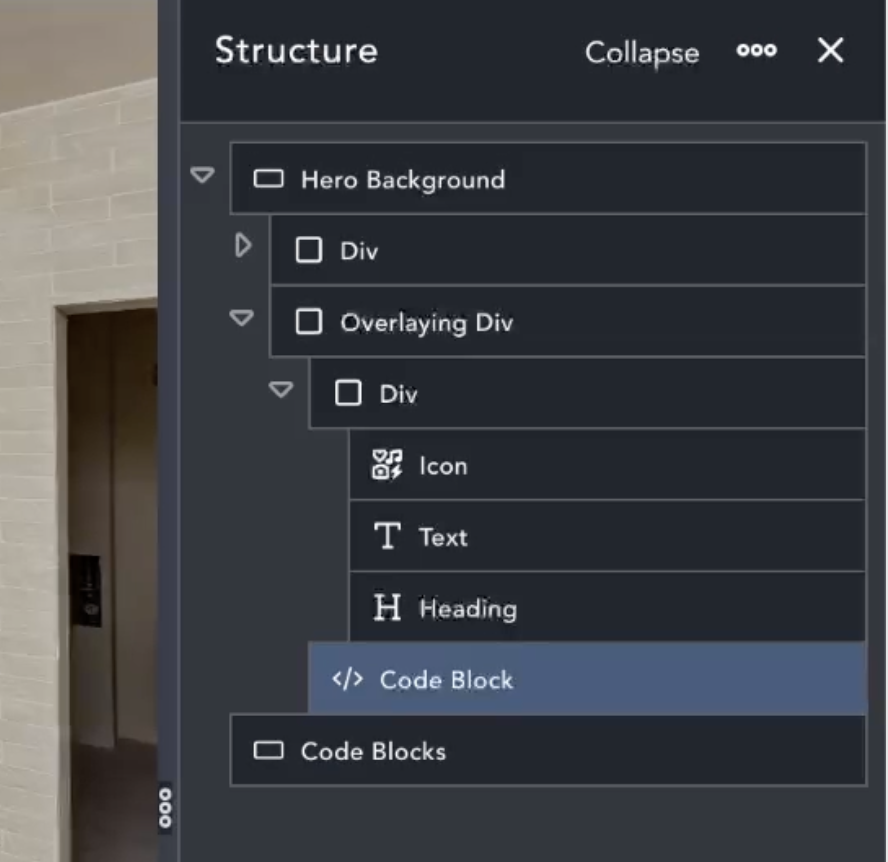
Before Content Div
If you’re having content in your section, the before content goes in its own div. Set this as you need it to.
Overlaying Div
This is actually set to become an overlay of the entire section as it’s set to Position: Absolute and aligned to the top and left corner. The code also makes it 100% in width and height. In effect, it becomes an overlaying section.
Background Image – Is the after image. If using a like for like image, as in the video, you’ll need to use the same image settings as for the before image.
Class – Add a class of ‘reveal-overlay-container’.
After Content Div
If you’re having content in your section, the after content goes in its own div here. If aligning content, as in the video, you will need to play more with vertical padding, as centre alignment is well automated.
Code Block
Simply add the below code to the code block and position the code block where you wish..
I’m not going to put the code behind a Mailing List wall. It’s here for you to take and enjoy. However, please do consider subscribing to my youtube channel and leaving me a Like and comment! Mailing list is also on the way soon!
Also, I’d love to see what you do with the Overlay Reveal on Hover Effect, so please do throw me a comment and link on the youtube video…I really look forward to seeing how it’s been used.
Okay! Here’s the code!
.reveal-container {
	position: relative;
	width: 100%;
	overflow: hidden;
	cursor: none; /* Remove default cursor */
}

.reveal-overlay-container {
	position: absolute;
	top: 0;
	left: 0;
	width: 100%;
	height: 100%;

	mask-image: radial-gradient(circle 500px at var(--x) var(--y), rgba(0,0,0,1) 98%, rgba(0,0,0,0) 100%);
	-webkit-mask-image: radial-gradient(circle 200px at var(--x) var(--y), rgba(0,0,0,1) 80%, rgba(0,0,0,0) 100%);
	opacity: 0;
	transition: opacity 0.3s ease;
}

body.custom-cursor-active {
	cursor: url('https://bac.growth-dev-1.co.uk/wp-content/uploads/2025/02/BDW_logo-cursor.png'), auto; /* Set custom cursor for the body */
}

.custom-cursor {
	position: fixed;
	width: 50px; /* Adjust size as needed */
	height: 50px;
	background: url('wp-content/uploads/2025/02/BDW_logo-cursor.png') no-repeat center;
	background-size: contain;
	pointer-events: none;
	z-index: 9999;
	transform: translate(-50%, -50%);
}
document.addEventListener("mousemove", function (e) {
	let revealContainer = document.querySelector(".reveal-container");
	let overlay = document.querySelector(".reveal-overlay-container");

	// Get the position of the reveal container relative to the viewport
	let containerRect = revealContainer.getBoundingClientRect();

	// Calculate mouse position relative to the container
	let mouseX = e.clientX - containerRect.left;
	let mouseY = e.clientY - containerRect.top;

	// Set the mouse position on the overlay for the gradient effect
	overlay.style.setProperty("--x", mouseX + "px");
	overlay.style.setProperty("--y", mouseY + "px");
});

let revealContainer = document.querySelector(".reveal-container");
let overlay = document.querySelector(".reveal-overlay-container");

revealContainer.addEventListener("mouseenter", function () {
	overlay.style.opacity = "1"; // Make the overlay visible
});

revealContainer.addEventListener("mouseleave", function () {
	overlay.style.opacity = "0"; // Hide the overlay when mouse leaves
});